Headshot Outfit Ideas That Actually Photograph Well
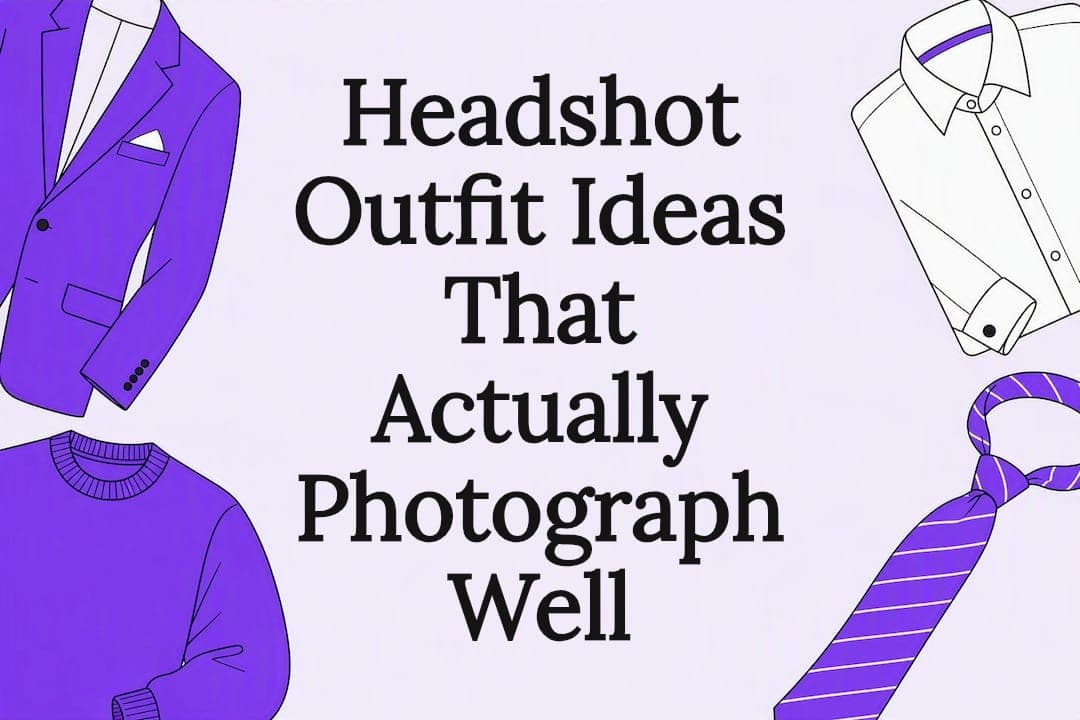
Bring multiple outfits, and let each one do a different job: one safe neutral, one polished layer, one color with personality, and a wildcard that shows who you actually are. That’s the entire strategy behind good headshot outfit ideas. Skip trends. Skip anything you have to think about once you’re in front of the camera. Here are ready-to-wear templates, plus the one-line reason each works.
- Charcoal blazer, cream shell. Reads as authority without the stiffness of black. Check: shoulders lie flat, no gaping at the button, sleeve hits the wrist bone.
- Navy sweater, no jacket. The modern default for tech and creative roles. Check: crew or v-neck (not turtleneck, which crowds the jaw), steam out fold lines.
- Deep jewel tone (forest green or burgundy) collared shirt. Adds personality without shouting. Check: collar sits flat against the neck, iron the placket.
- Blazer over a simple top, no tie. The “dressed but approachable” middle ground. Check: one button fastened, sleeve length shows a half-inch of cuff.
- Textured knit in slate or plum. The wildcard. Check: no bulky cables that add shoulder width, keep accessories to one small piece.
Key Takeaways
Fit, color discipline, and bringing three to five outfits matter more to how a headshot turns out than brand names or trend-chasing.
| Point | Details |
|---|---|
| Choose mid-tones and jewel colors | Navy, charcoal, forest green, burgundy, and slate hold detail under studio lights better than pure white or black. |
| Prioritize fit over price | A well-fitted, affordable blazer photographs better than an expensive one that doesn’t fit the shoulders. |
| Avoid fine patterns | Tight stripes and small checks can trigger moiré on digital sensors and can’t be fixed afterward. |
| Bring the right number of outfits | Pack two to three looks for a 30-minute session, four to five for an hour, plus one wildcard. |
| Preview your look with AI first | EasyCV’s AI headshot generator lets you test outfit and color choices from a selfie before a paid session. |
Table of Contents
- Best Headshot Outfit Ideas for Every Industry
- Best Colors for Headshots (and the Ones to Skip)
- Fit and Fabric Matter More Than Brand
- Accessories, Glasses, and Grooming That Won’t Distract
- Wardrobe Mistakes That Quietly Ruin Headshots
- How Many Outfits to Bring and How to Layer Them
- Why Photographer-Tested Rules Beat Guesswork
- Coordinating Your Outfit With Hair and Makeup
- Matching Your Outfit to the Background
- Seasonal Outfit Choices for Comfort and Consistency
- What Actually Matters When You’re Choosing an Outfit
- Get Camera-Ready Outfits Right the First Time With EasyCV
- Sources
Best Headshot Outfit Ideas for Every Industry
The right outfit depends less on personal style than on what the photo needs to communicate before anyone reads your bio. A finance headshot and an actor’s self-tape headshot are solving different problems, and the wardrobe should reflect that.
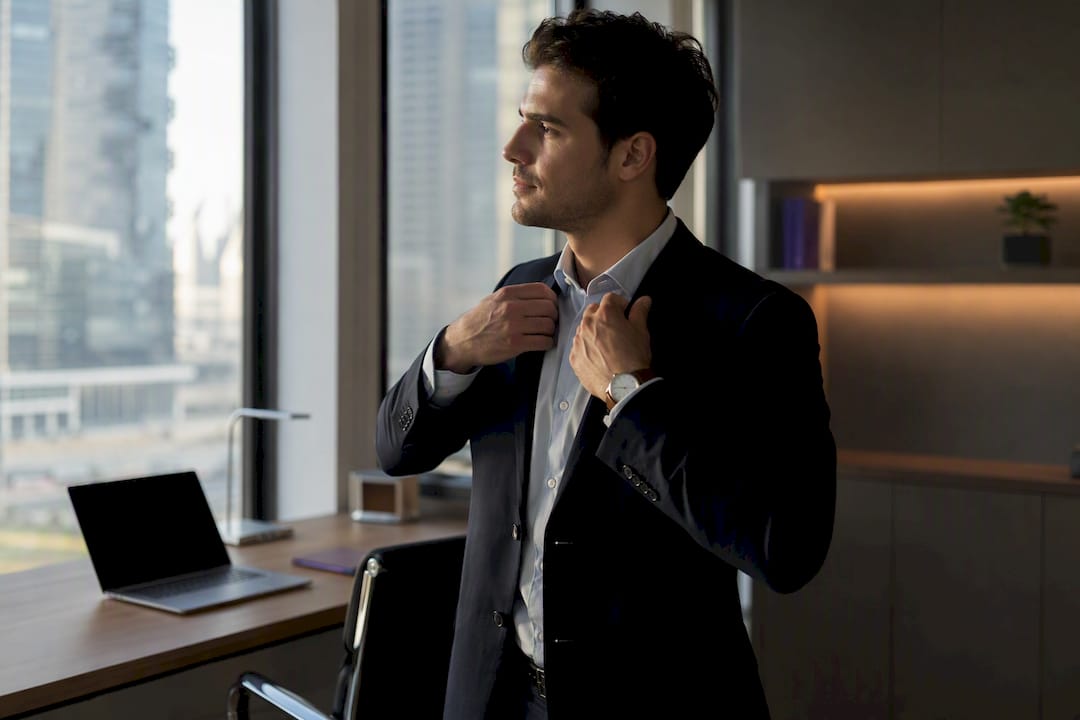
Finance and law. Navy or charcoal suiting signals stability. A crisp collared shirt underneath, tie optional depending on firm culture, and a blazer that fits square across the shoulders. Avoid anything trendy here. This is the one category where conservative wins every time.
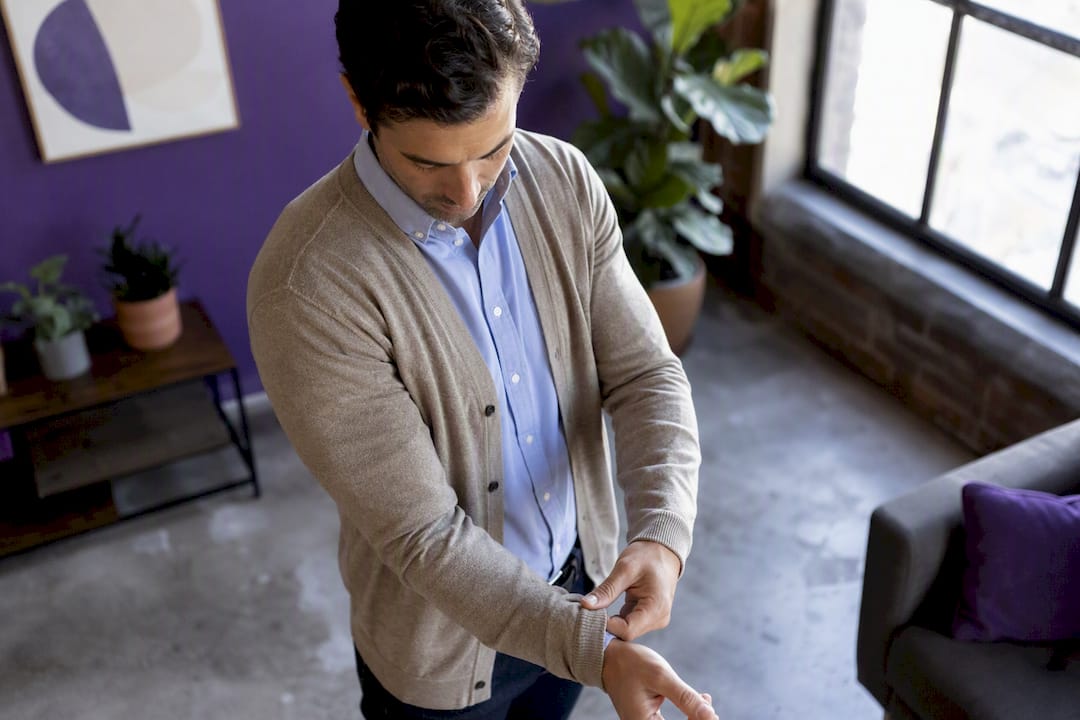
Tech and startups. Quality knits and a smart-casual layered look read as modern and self-aware. Think a fitted sweater over a collared shirt, or a structured jacket with no tie at all. Industry-specific color language matters: layered looks and quality knits read as modern and approachable in tech, where a full suit can look overdressed or out of touch.
Healthcare. Solid-color collared shirts or a simple blouse in soft jewel tones work best, sometimes with a white coat if that’s part of the brand. Skip busy prints. Patients associate clean, calm colors with competence.
Real estate and sales. A blazer in a confident color (burgundy, teal, deep plum) photographs as approachable and memorable, which matters when your headshot sits next to a dozen competitors on a listing site.
Creative fields and acting. This is the category where personality outranks polish. Jewel tones and interesting textures give creative roles energy without competing with the face, and multiple looks matter more here since casting directors expect range.
Match the outfit to the platform, too. A LinkedIn photo tolerates more formality than a speaker bio, and an acting submission wants range across looks, not one “safe” choice repeated five times.
Best Colors for Headshots (and the Ones to Skip)
Solid mid-tones and jewel colors are the safest, highest-performing choice for almost any headshot. Think navy, charcoal, forest green, burgundy, and slate. These tones photograph consistently well under studio strobes because they hold detail without overexposing or flattening the shoulder line.
Pure white and pure black cause real technical problems. White frequently blows out under studio lighting, losing all fabric texture and sometimes distorting exposure on the face. Black tends to flatten shoulder definition, turning a structured blazer into a shapeless block. Off-white or cream, and deep navy or charcoal, give you the same visual effect without the technical risk. Neon is out entirely. It reflects color onto the skin and skews the whole color balance of the shot.
Patterns need a size check. Fine pinstripes, small houndstooth, and tight checks can trigger moiré, a wavy interference pattern that digital sensors create when a repeating pattern is too fine. It’s nearly impossible to fix afterward, so photographers just avoid it. Large-scale, low-contrast patterns are fine. Anything busy at arm’s length is a hazard up close.
- Safe: navy, charcoal, forest green, burgundy, slate, deep plum
- Avoid: pure white, pure black, neon, fine pinstripes, tight checks, anything with a visible logo
Pro Tip: Take a photo of your outfit on your phone and shrink it to thumbnail size. If a pattern shimmers or a color looks washed out at that size, it will do the same thing on LinkedIn.
Fit and Fabric Matter More Than Brand
A well-fitted blazer from any store will photograph better than an expensive suit that pulls at the shoulders. Photographers say fit outperforms brand every time, because the camera reads structure, not price tag.
Run these checks before the shoot:
- Shoulders. The seam should sit right at the edge of your shoulder bone, no divots or bulges.
- Sleeves. Jacket sleeves should show about half an inch of shirt cuff; shirt sleeves shouldn’t bunch at the wrist.
- Collar. It should lie flat against the neck with no gapping when you turn your head.
- Buttons. Fasten the top button on a blazer only; a shirt should close without straining.
Fabric choice affects the final image almost as much as color. Matte fabrics like merino wool, brushed twill, and cotton blends photograph cleanly under strobes, while satiny or sheer synthetics catch glare and look cheap on camera. Linen looks great in person but wrinkles within minutes, so it needs a steamer on standby if you insist on wearing it.
Pro Tip: Steam everything the night before, then hang each outfit in a garment bag. Lint-roll right before you step in front of the camera, not an hour before.
Accessories, Glasses, and Grooming That Won’t Distract
The rule for accessories is subtraction, not addition. Once you think an outfit looks finished, remove one thing. Small studs, a classic watch, or a simple wedding band are all that most headshots need. Large, dangling, or shiny jewelry reflects studio lights and pulls focus straight off your face.
- Skip statement necklaces, chandelier earrings, and anything that jingles when you move.
- If you wear glasses regularly, wear them. A photographer will angle lighting to reduce glare, but bring a backup pair or your contacts just in case reflections become a problem.
- Get your hair done three to seven days before the shoot, following tips to look your best in professional headshots for an ideal camera-ready appearance. Research on shoot timing points to that window as the sweet spot between fresh styling and settled, natural fall, with none of the stray hairs a same-day cut leaves behind.
- Do makeup as you would for an important meeting, not a night out. Bring blotting papers and a neutral lip for touch-ups between outfit changes.
Wardrobe Mistakes That Quietly Ruin Headshots
Some outfit choices cause problems you won’t notice until you’re reviewing the images. Neon colors throw off skin tone. Tight stripes create moiré that no amount of editing fixes. Logos date the photo and distract from your face. Shiny or sheer fabrics catch every studio light as a hot spot.
Behavior matters as much as fabric. Constantly tugging at a collar or blazer reads as fidgeting on camera. Shoes that pinch or a collar that’s too tight will show up as tension in your shoulders and jaw, even in a photo that only shows you from the chest up.
- Swap neon for a jewel tone in the same family.
- Swap fine stripes for a solid or a large, low-contrast pattern.
- Swap anything logoed for a plain version you own.
- If your collar feels tight, unbutton it between shots and only fasten it right before the photographer says “ready.”
How Many Outfits to Bring and How to Layer Them
Bring two to three outfits for a 30-minute session and four to five for a full hour, always including one wildcard that shows some personality beyond the standard corporate look. More than that just eats time you’d rather spend getting good expressions.
- Pack by layer, not by full outfit. One blazer can cover two or three looks just by swapping the shirt underneath.
- Use the collar as a variable. Open collar, buttoned collar, collar with a light scarf or pocket square: three distinct looks from one shirt.
- Label everything before you leave home. Lay outfits out in shooting order, or bag them separately, so you’re not digging through a duffel bag between setups.
- Save the wildcard for last. Photographers often get their favorite frame from the outfit the subject felt least nervous about, and that’s usually whatever comes after the “serious” looks are already in the can.
Why Photographer-Tested Rules Beat Guesswork
Every rule in this piece comes from what actually happens under studio lights, not fashion trends. Fit beats brand. Solids beat patterns. Bring options instead of hoping one outfit works. Steam everything, because wrinkles read worse on camera than in person.
Screenshot this before you shoot:
- Two to five outfits, steamed and hung the night before
- One neutral, one layered, one colorful, one wildcard
- Shoulders checked, collar checked, lint rolled last
- Backup glasses, minimal jewelry, hair done three to seven days out
If you want to test outfit and color choices before committing to a paid session, EasyCV’s AI headshot generator turns a regular selfie into a studio-style image, which makes it a useful way to preview how a color or neckline actually reads. Reviewing real headshot examples across industries can also help you settle on a look before you’re standing under the lights.
Coordinating Your Outfit With Hair and Makeup
An outfit chosen in isolation can fight your hair and makeup instead of supporting it, and that mismatch shows up more in a still photo than it ever does in person. Start with whichever element is hardest to change on shoot day, usually hair color or a signature makeup look, and build the outfit around it rather than the reverse.
Warm skin tones and warm-toned hair (auburn, golden blonde, warm brunette) tend to pop against jewel tones like forest green, burgundy, and warm slate. Cooler tones, including ash blonde or blue-black hair, often look sharpest in navy, charcoal, or deep plum. If your makeup leans bold, a bold lip or strong eye, let the outfit stay simple and let the face carry the personality. If your outfit is the statement piece, like a jewel-tone blazer, keep makeup closer to your everyday look so nothing competes for attention.
Texture matters too. Sleek, straight hair pairs well with structured blazers and crisp collars. Looser waves or curls tend to soften a strict, buttoned-up outfit, which can be useful if you want a headshot that reads as approachable rather than corporate. Consider the whole frame as one image, not three separate decisions, since the camera captures hair, skin, and fabric together in a single glance.
Matching Your Outfit to the Background
The backdrop behind you changes how a color reads far more than most people expect, so it’s worth asking your photographer what background they’re using before you pack. A light gray or white studio backdrop is the most forgiving. Navy, charcoal, burgundy, and most jewel tones stand out cleanly against it without blending in or clashing.
Darker or textured backgrounds, like a deep charcoal backdrop or an outdoor brick wall, need lighter or brighter clothing to avoid the classic problem of your outfit disappearing into the backdrop. A charcoal jacket against a charcoal wall reads as a floating head in photos, which is exactly the effect you don’t want.
Outdoor or on-location headshots, common in real estate and some creative fields, add another variable: greenery, brick, and glass all reflect ambient color onto skin and fabric. Cooler blues and grays tend to hold up well outdoors, while warm tones can occasionally clash with strong green foliage in the background. If you don’t know your backdrop in advance, a mid-tone jewel color is the safest universal choice. It works against light backgrounds, dark backgrounds, and most outdoor settings without a wardrobe change.
Seasonal Outfit Choices for Comfort and Consistency
Comfort directly affects how relaxed you look on camera, so the season and shoot environment should shape your outfit as much as color theory does. A studio session in summer with strong lighting can run warm fast, and a heavy wool blazer will leave you visibly sweating by outfit number three.
In warmer months, lightweight cotton blends and light wool hold their shape without trapping heat the way thicker fabrics do. Linen looks appropriate for the season but wrinkles almost immediately, so only wear it if a steamer is within reach right before your turn in front of the camera.
Cooler months make heavier fabrics and layering easier to pull off. A wool blazer over a knit sweater photographs as put-together without looking bulky, and you can shed the jacket between shots to vary the look without a full outfit change. Outdoor winter shoots add a practical wrinkle: bring an overcoat for between setups, then remove it right before the shutter clicks so you’re not sitting in cold gear for the actual frame.
Whatever the season, avoid anything that leaves visible marks, tight waistbands, sock lines, watch indentations, since thirty minutes in a chilly or warm room is enough time for those pressure marks to show up on camera. Dress for the shoot, not the weather outside the studio door.
What Actually Matters When You’re Choosing an Outfit
Most headshot advice online is either too vague (“wear something professional”) or too obsessed with brand names and price points that have nothing to do with how a photo turns out. The research is consistent on one point: fit and color discipline beat everything else, including how much the outfit cost.
The advice worth ignoring is the idea that you need a stylist or a designer wardrobe to get a great headshot. You don’t. A $60 blazer that fits your shoulders correctly will outperform a $600 one that doesn’t, every time, under studio lighting. What the conventional advice underweights is how much behavior matters. Fidgeting with a tight collar or an itchy fabric shows up in your face before it shows up in the outfit itself.
If you take one thing from this, prioritize fit first, color second, and quantity of outfits third. A single well-fitted, well-steamed outfit in the right tone will beat five mediocre options every time.
Get Camera-Ready Outfits Right the First Time With EasyCV
Picking the right outfit only matters if the resulting photo actually gets used somewhere, and that’s where most professionals stall out after the shoot. EasyCV turns a simple selfie into a studio-quality headshot with its AI headshot generator, so you can test how a navy blazer or a jewel-tone sweater actually reads before committing to a paid session, or generate a polished image on the spot if a session isn’t in the budget. It’s a practical option for job seekers who need a professional photo attached to their profile now, not next month.
Once your headshot is sorted, the same platform helps you build the CV and cover letter that photo sits next to, with AI-tailored content for every application and a job matcher that swipes through roles pre-scored to your background. Check out the full feature set and start with the headshot tool today.
Sources
- What to Wear for a Headshot: A Photographer’s Guide | Chad Isaiah Studios
- What to Wear for Professional Headshots — Wardrobe Guide | Photography Shark
- What to Wear for Headshots (2026 Outfit + Color Guide) - Tov Studio Photo
- Headshot Outfits: What to Wear and What to Avoid | Backstage